Serial No. 109
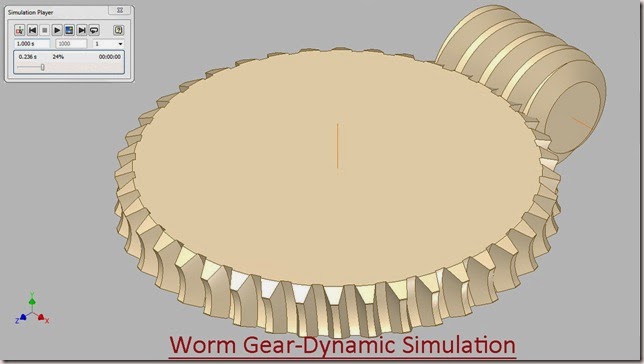
Worm Gear-Dynamic Simulation-Autodesk Inventor 2012 (with caption and audio narration)
…….........................................................
In this video, we will demonstrate how to apply the different type of mates in the assembly environment for creating the Dynamic Simulation of the ‘Worm Gear’.
Click the following link to get the model file: - http://bit.ly/2mAv1zO
Transcription of Video
Display motion in Worm Gear through Dynamic Simulation
- Create a ‘New Assembly’ and save it with the name ‘Worm Gear–Dynamic Simulation’.
- Select Place component from the marking menu and place the Worm in the Assembly.
- Select the Worm in the Design window, right click and deselect Grounded from the context menu.
- At present there are six Degrees of Freedom in Worm and it can be moved in any direction in the Assembly.
- Open the visibility of X Axis of Assembly and X Axis of Worm from the Browser Bar and then apply a Mate Constraint between them.
- Apply another Mate Constraint between Centre Point of the Assembly and Centre Point of the Worm.
- Now only one Degree of Freedom is left and Worm can be moved only on its X Axis.
- Select Place component from the marking menu and place the Worm Gear in the Assembly.
- Align the Worm Gear in correct position by using Rotate Component Tool.
- Open the visibility of XZ Plane of Assembly and XY Plane of Worm Gear from the Browser Bar and then apply a Mate Constraint between them.
- Close the visibility of Work Planes to clear the screen.
- Set the browser from Assembly View to Modeling View using the toggle at the top of the browser.
- Open the visibility of Pitch Diameter of Worm Gear and Pitch Diameter of Worm and then apply a Tangent Mate between them.
- Apply another Mate Constraint between the Z Axis of Worm Gear and YZ Plane of Assembly.
- Create a Work Axis in the Assembly, coincident with the axis of surface of Pitch Diameter of Worm Gear.
- Activate the Work Axis command from the Work Features Panel of Assemble Tab, and then select Through Revolved Face or Feature in the Axis drop down menu.
- Select Pitch Diameter of Worm Gear to create the Work Axis.
- In the Quick Access toolbar, click the selection tool dropdown list and choose Select Sketch Features.
- Convert this Work Axis to ‘Grounded’.
- Activate the Motion Constraint, first select the side face of Worm and then the top face of Worm Gear. In the Ratio input box, enter the value 1/40 and click Ok.
- Once again, check the Degrees of Freedom of Worm Gear and Worm in the assembly, this time both the gears are rotating on their own Axis.
- Activate the Dynamic Simulation Tool from the Begin Panel of Environments Tab.
- Activate Insert Joint from the Marking menu.
- Select ‘Worm Gear’ from the drop down menu of Insert Joint dialog box.
- In the Insert Joint dialog box, select Pitch Diameter of Worm in ‘Gear option’ and select Pitch Diameter of Worm Gear in ‘Screw option’. Enter the value (- 1/40 ) in the Pitch input box. Click Ok.
- Select Revolution:1 joint in the Browser under the Standard Joints folder, right click and select Properties from the context menu.
- Click dof 1 (R) tab and select Edit imposed motion button and check the Enable imposed motion option.
- Click the arrow to expand the input choices, and click Constant Value.
- Enter the value 360*40 deg/s and click Ok.
- Close the visibility of Pitch diameter of Worm Gear and Worm.
- In Simulation Player, fill the value 1000 in the Images field area.
- Clear the screen by activating the Clean Screen command.
- Click Run in the Simulation Player to display motion in Worm and Worm Gear.
Note: - The worm gear is always driven by the worm.


No comments:
Post a Comment