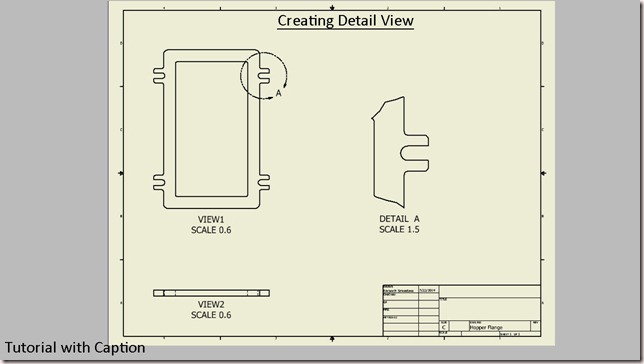
Video Tutorial with caption
Click the following link to get the model file: - http://bit.ly/2Ch3zvc
Transcription of Video
- Open the Hopper Flange (.ipt) part file.
- Create a new Drawing sheet with metric template.
- Activate the Base View command from the marking menu.
- Notice that when the part file is already opened, here model file is automatically displayed in the File drop-down.
- View Orientation of the Base View should be (Top) and set the view scale to (0.6).
- Click the left mouse button at the upper side of the sheet. Then move your cursor downward of the base view followed by clicking the left mouse button.
- Click Create button from the context menu to generate the views.
- Save the file with the name Hopper Flange.
- Activate the ‘Detail View’ tool from the Create Panel and select the View1 to define it as the parent view.
- Detail View dialog box is visible in the graphics window.
- In the ‘Fence Shape’ field, there are two option first Circular and the second Rectangular for the detail view.
- The Circular shape is selected by default.
- Set View Scale 1.5 and click inside of this slot to define the center point of the fence.
- Drag the fence as displayed and click the right side of the sheet to place the detail view.


No comments:
Post a Comment