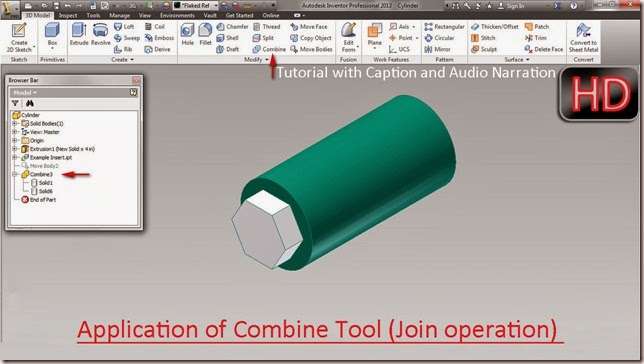
Video Tutorial with caption and audio narration
In this video tutorial two pre-constructed parts have been utilized to show Boolean operation in a part file, by using 'Combine' tool that is available in the Modify panel of 3D Model tab.
Transcription of Video
1. We have two files one is Cylinder and the other is Example Insert.
2. Open the Cylinder file.
3. Activate the Derived Component tool.
4. Select the Example Insert file and open it.
5. Click OK to place the Example Insert in the design window.
6. Re-orient the model in the design window by using View Cube.
7. Change the Visual Style to Shaded with Hidden Edges to see the Example Insert clearly.
8. Two separate solid bodies are visible clearly in the Browser Bar.
9. Close the visibility of Cylinder.
10. Activate the Measure Tool from the Marking menu.
11. Take the measurement of this edge.
12. Measurement of the edge is 0.5 inch.
13. Open the visibility of Cylinder.
14. Start the Move Bodies tool.
15. And then select Example Insert.
16. Enter value 0 inch in the X Offset input box.
17. To move the Example Insert in Z direction.
18. Enter value (-0.5) inch in the Z Offset input box and click OK.
19. Activate the Combine tool.
20. Join option is selected by default.
21. Select both the solid bodies in the design window.
22. Click OK to close the dialog box.
23. Now checkout the Browser Bar, only one solid body exists.


No comments:
Post a Comment